Creating and deploying static websites using Markdown and the Python library Pelican (2020)
You may have the desire to build your personal or blog site and host it in your domain name but several obstacles like incomplete knowledge of HTML and CSS, databases; the financial burden to host your site; the complexities of deployment and continuous-integration pipelines, etc might have prevented you from doing so.
In this article, I will explain the complete steps to build your static website like the one I have built (shahayush) using a static site generator called Pelican, which is written in Python, deploy it on GitHub Pages along with continuous integration (CI) using Travis-CI and linking it to your custom domain name, all without requiring the knowledge of HTML and CSS, databases or deployment pipelines. Furthermore, I will also explain the way to integrate a comment system called Disqus in your site and also help you to link Google Analytics to your site so that you can analyze in-depth detail about the visitors on your website.
The most striking advantage of this technique is that you can perform the complete process for free except the fee to register your domain name. You can also avoid this fee by hosting the site only on GitHub pages where you can host a website like your_username.github.io. The only prerequisite for completing this process is the basic knowledge of Python and Markdown for writing the articles. You might have used Markdown in jupyter notebook or the Readme.md file of your GitHub repository. Don’t worry if you are completely unaware of them. You can still manage to learn them through this article as they are extremely simple to catch up.
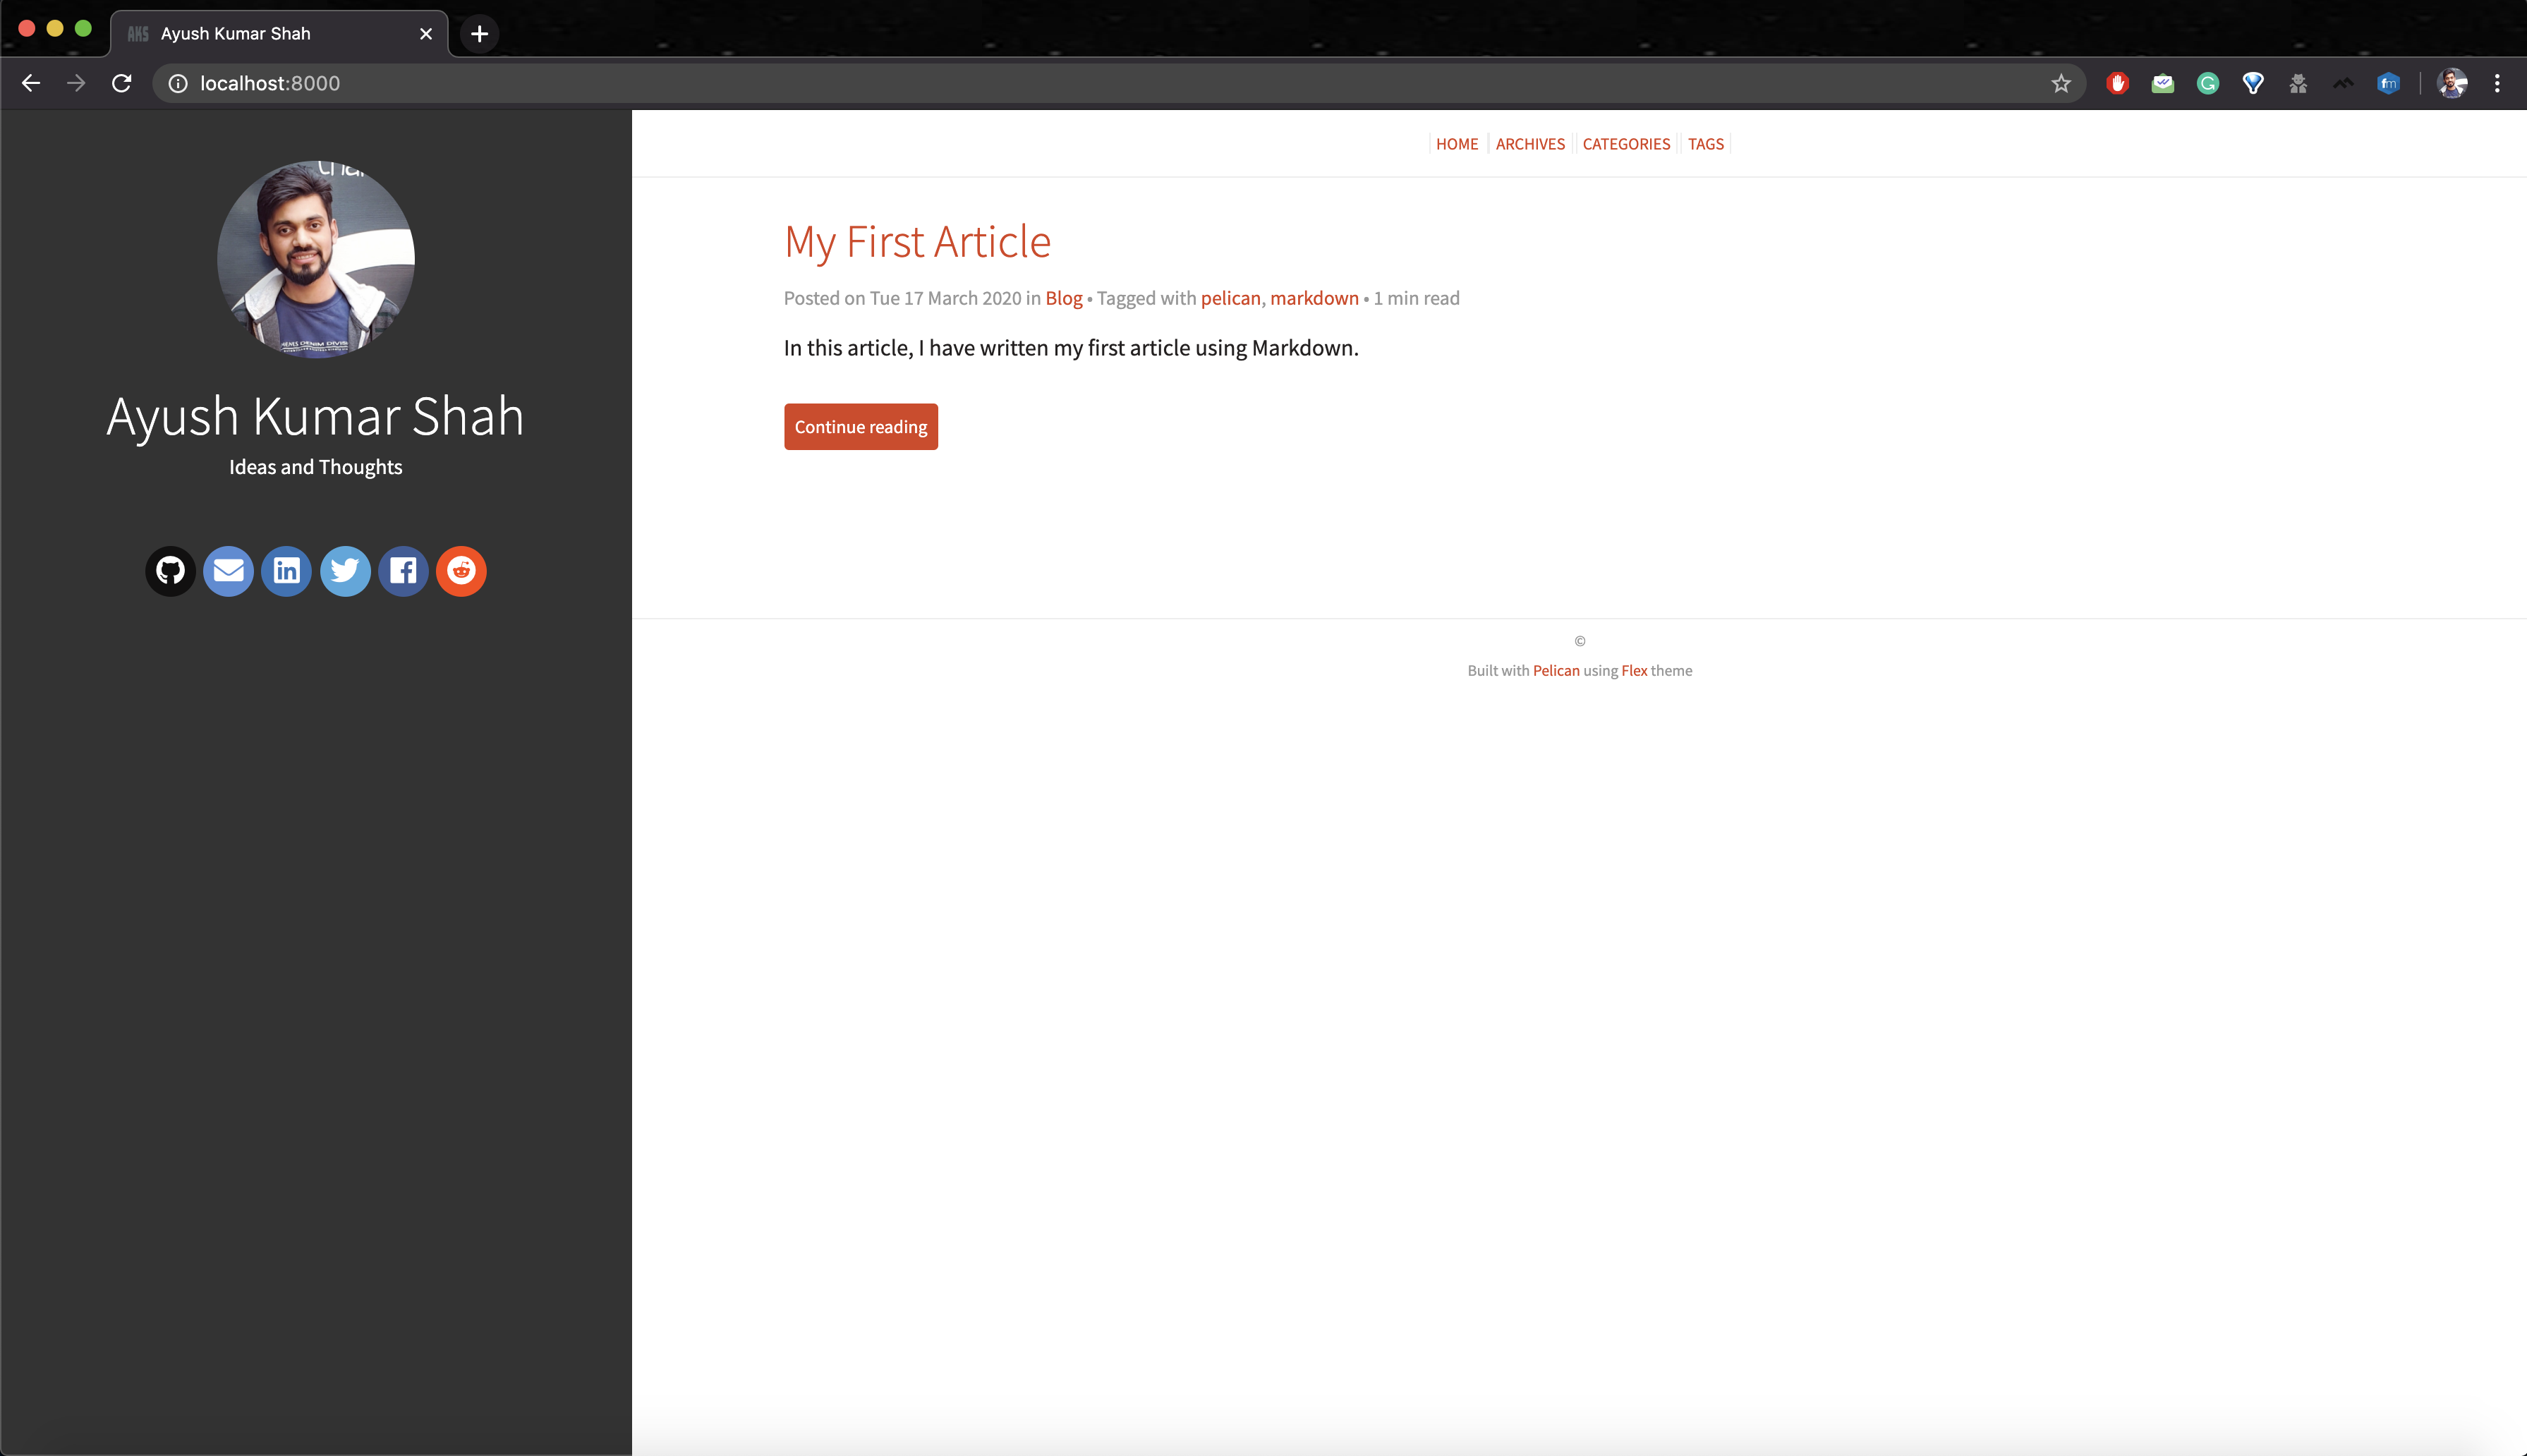
By part 2 of the article series, you will have your website ready which will look something like this:
My current website is also built using the same methods discussed in this article series.
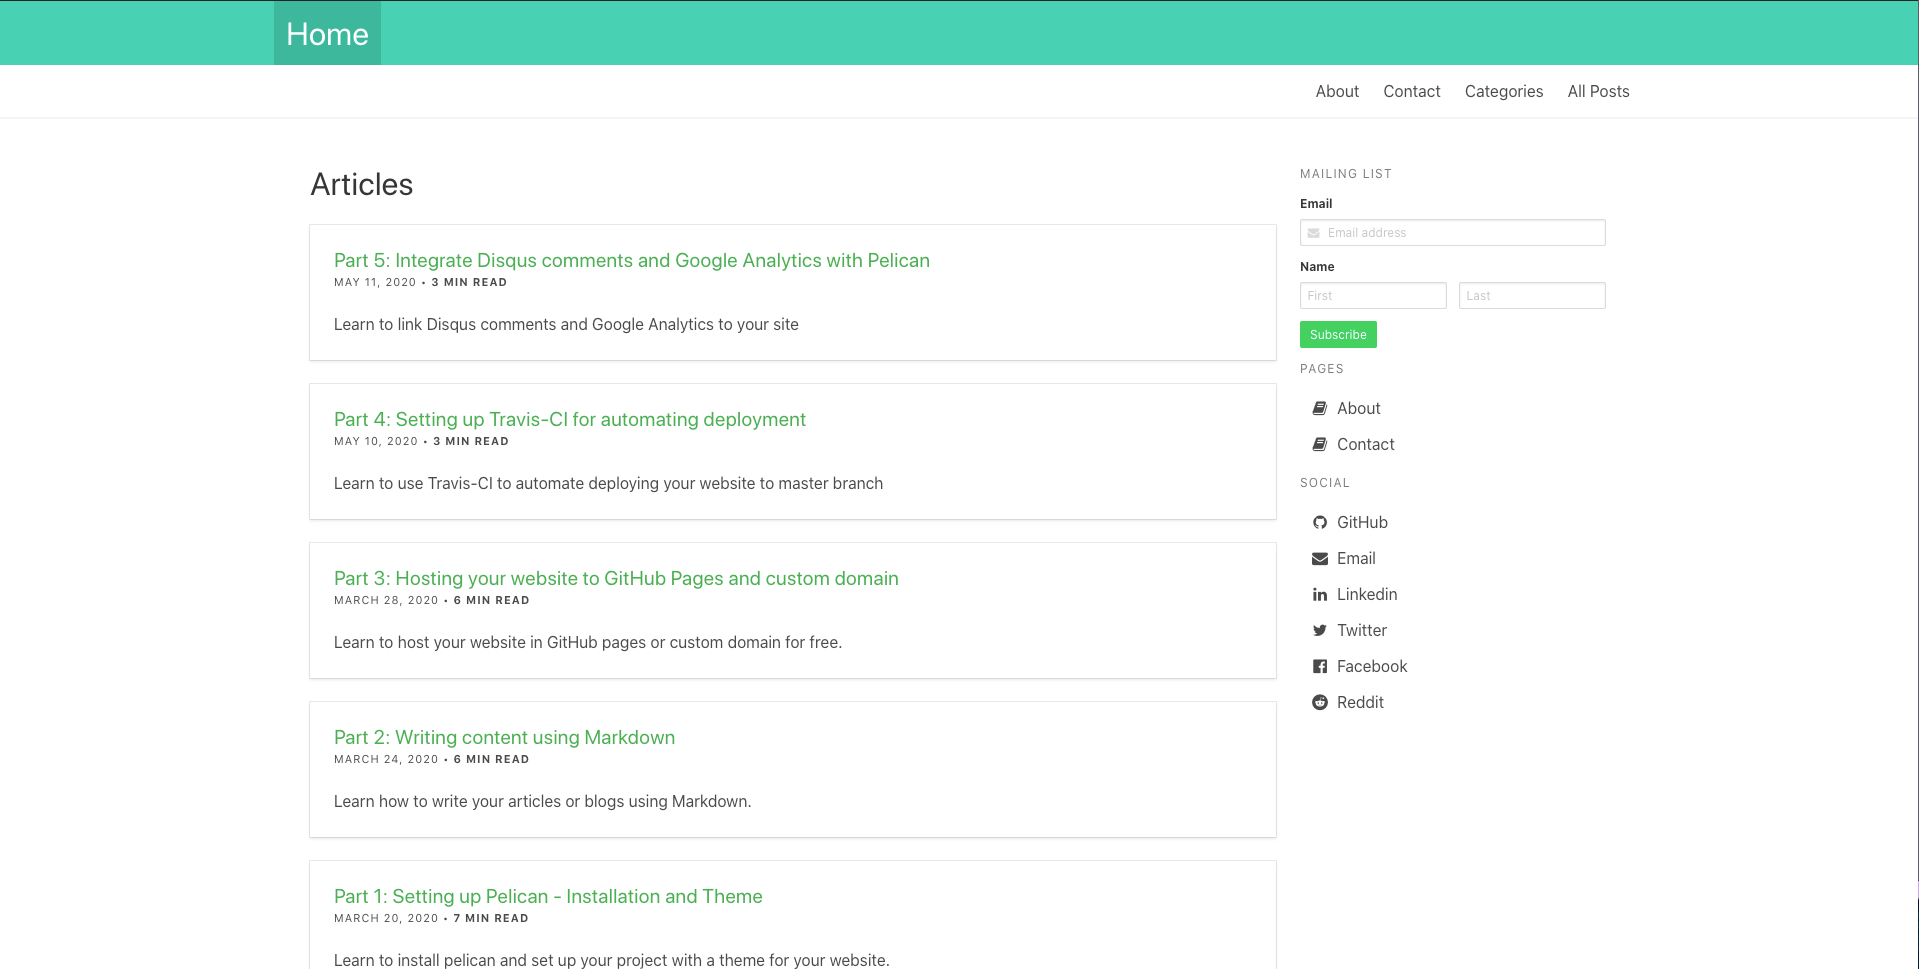
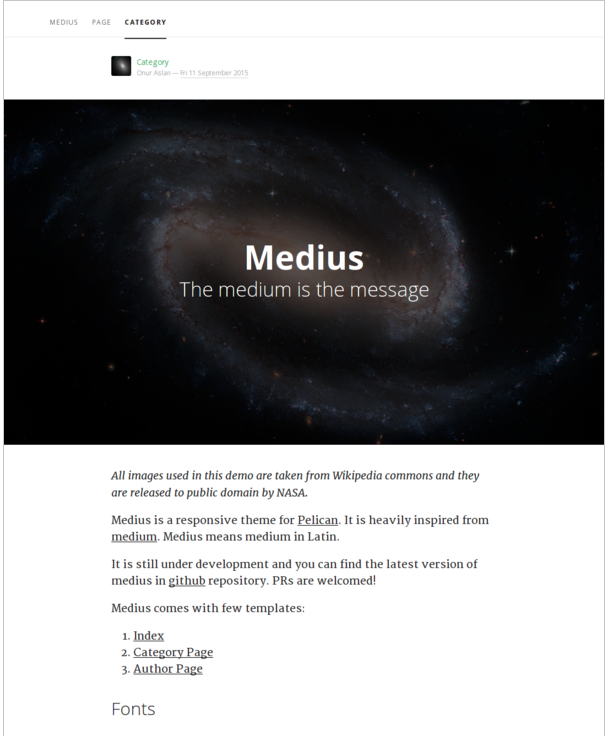
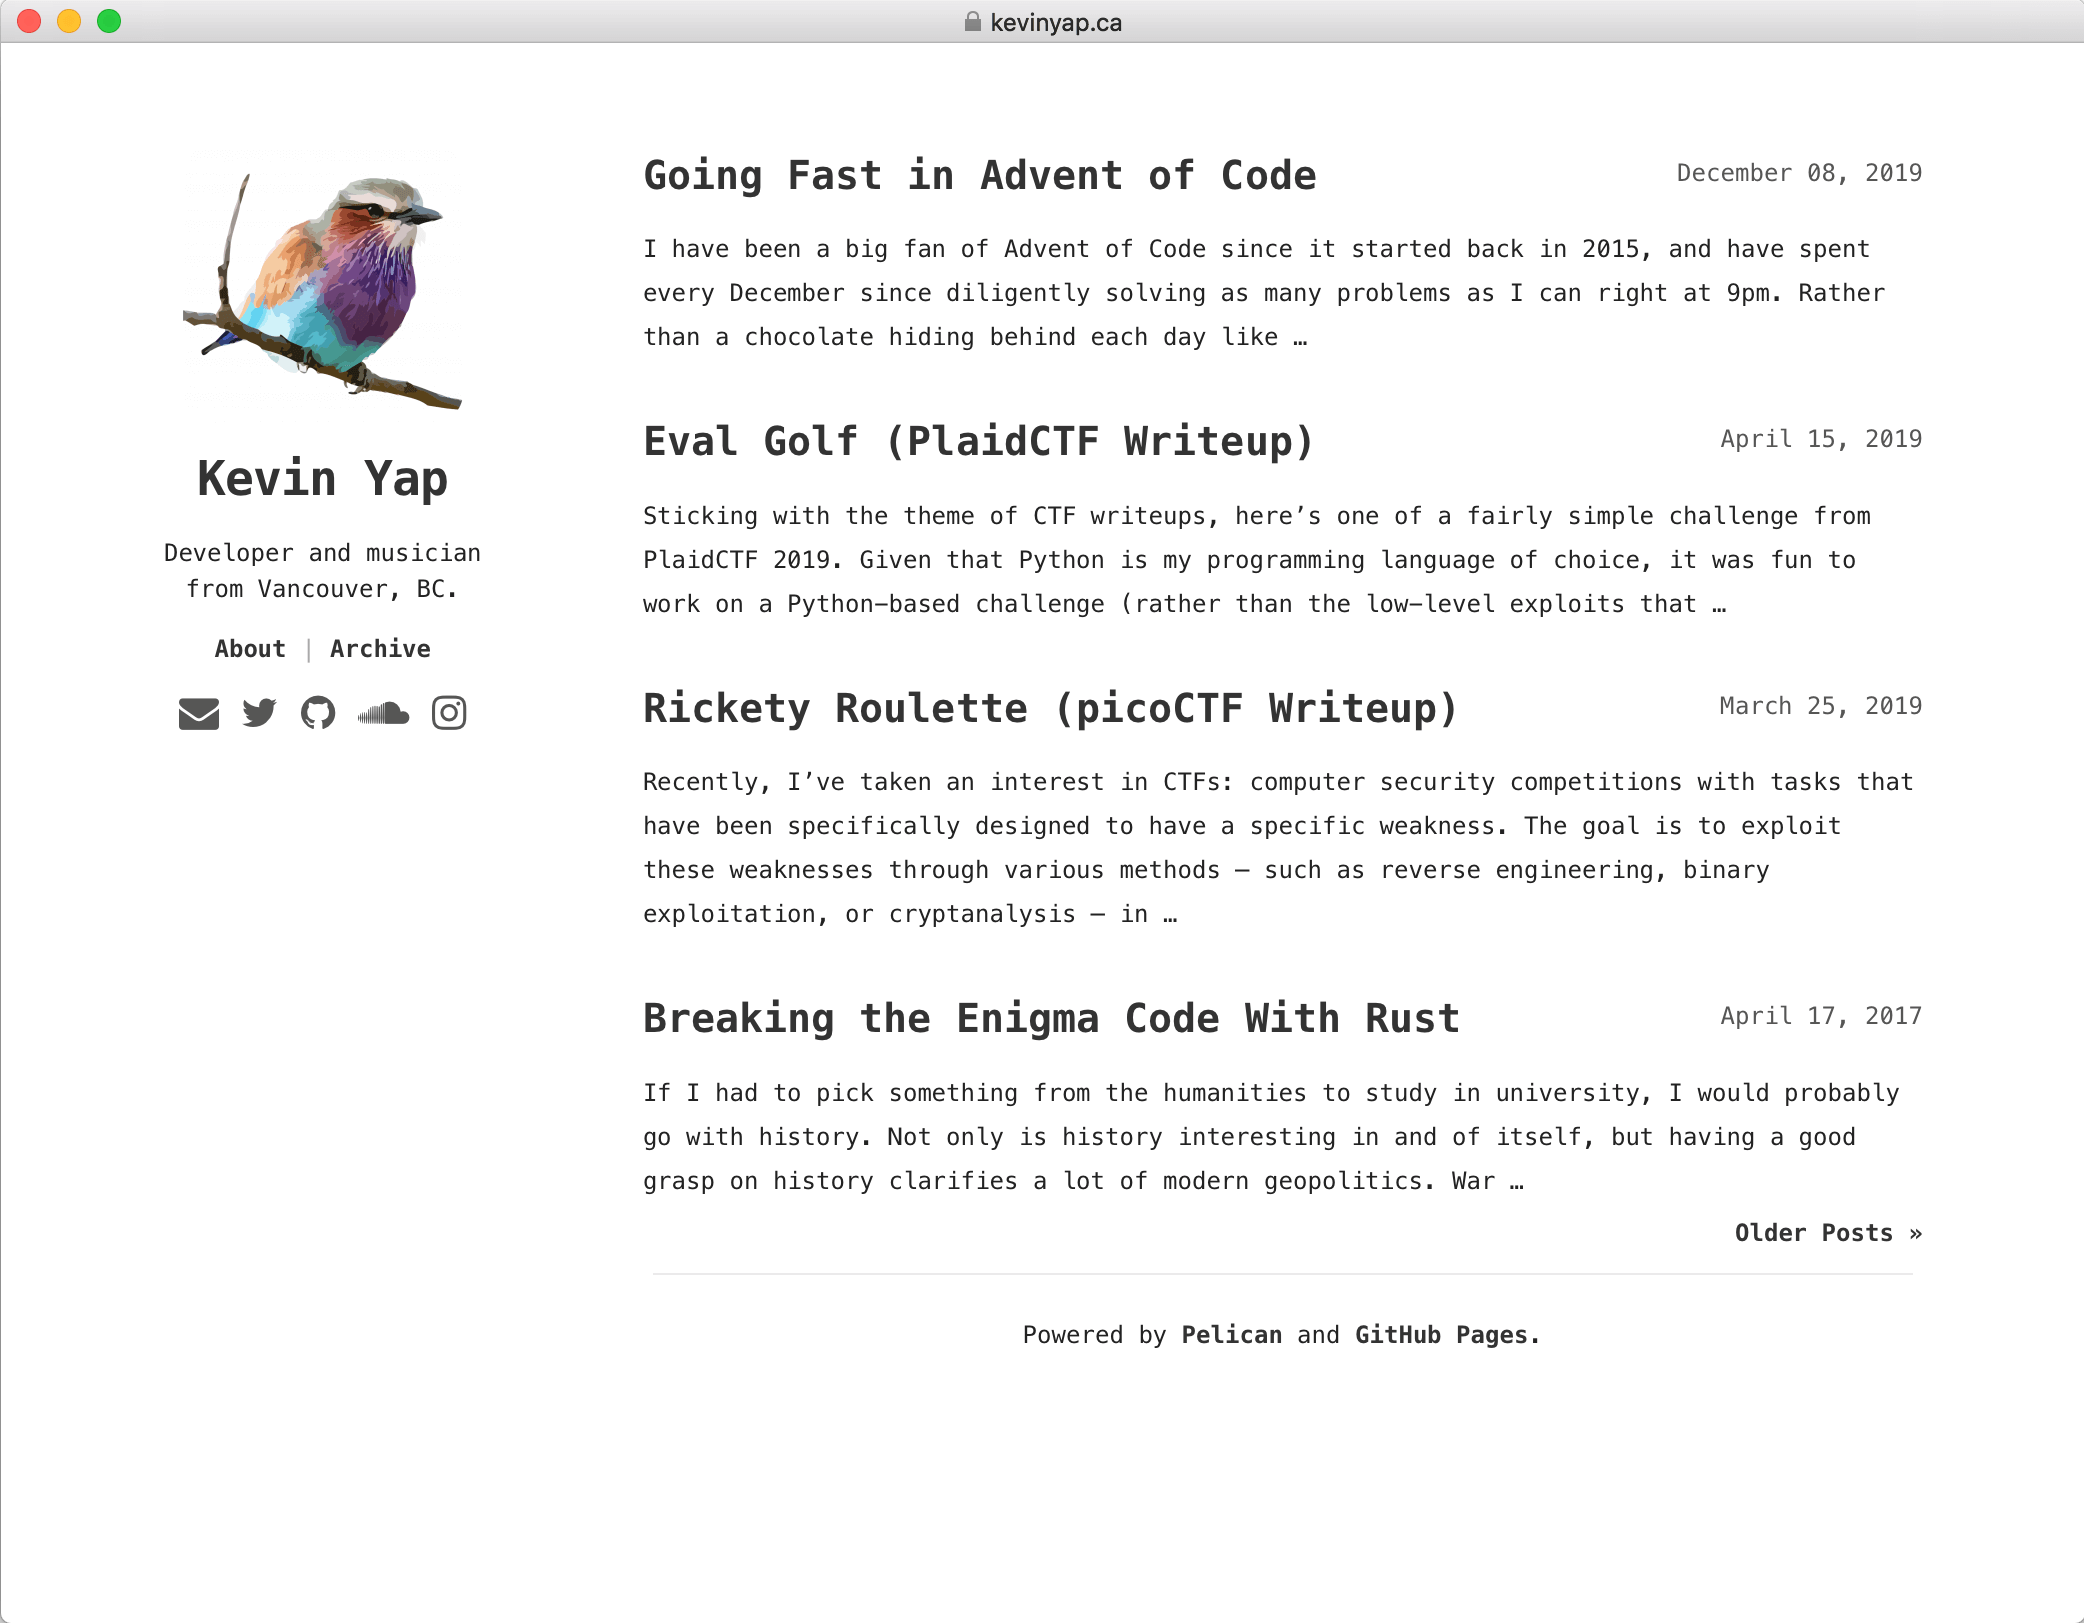
Some samples of websites built using pelican
- Theme: bulrush

- Theme: medius

Demo website: medius by Onur Aslan
- Theme: hyde

- Theme: pneumatic

Demo website: pneumatic by Kevin Yap
Details on how to use these themes will be discussed in the Part 1 of this article series. I just wanted to give some overview on how the website will look like in the end.
Advantages of Pelican over WordPress
You may wonder that the same thing can be achieved using WordPress and has a wider community compared to Pelican. So, why use Pelican? I have listed a few advantages of Pelican over WordPress written by Vincent Cheng in his article Migrating from Wordpress to Pelican.
- speed: a static blog is going to be faster than a dynamically generated site, no matter how much you try to optimize your Wordpress site/cache/database. This site now serves up nothing more than HTML, CSS, and JS files.
- simplicity: as mentioned above, there’s no need to set up, configure, and optimize your Wordpress installation. Simplicity in this sense also refers to the fact that this site is now powered by a smaller, simple to understand stack, rather than a giant and much more complex PHP stack that regularly attracts attackers…
- improved workflow: you can use your preferred editor and your preferred VCS to create and keep track of your blog posts. Markdown is a nice bonus as well (it’s the sweet spot between a WYSIWYG editor and raw HTML).
- mobility/deployment: static site = easier to move around (just copy the files; there’s no database to worry about) and deploy (and often cheaper to deploy; you can do so for free with Github Pages, for example).
- less cost: Switching to Pelican means that you get to move off of Wordpress.com infrastructure, hence no more ads (and no need to pay $30/yr to get rid of them), no restrictions on the amount and type of content you upload, and being able to use your own domain name (without having to pay extra for it), and of course not having to rely on a third-party to host your blog.
Let’s get started
Now that you have got an overall insight of what this article series is about along with the benefits of using Pelican, get started by building your own website. For ease, I have divided the article into 6 parts as:
- Part 1: Setting up Pelican - Installation and Theme
- Part 2: Writing content using Markdown
- Part 3: Hosting your website to GitHub Pages and custom domain
- Part 4: Setting up Travis-CI for automating deployment
- Part 5: Integrate Disqus comments and Google Analytics with Pelican
Click on the respective links to get started.

