
Part 5 - Integrate Disqus comments and Google Analytics with Pelican (2020)
This article is a part of a series of articles for web development using pelican. So, if you haven’t read the previous articles, please check it out by clicking the links below.
Creating and deploying static websites using Markdown and the Python library Pelican
- Part 1: Setting up Pelican - Installation and Theme
- Part 2: Writing content using Markdown
- Part 3: Hosting your website to GitHub Pages and custom domain
- Part 4: Setting up Travis-CI for automating deployment
Up to this point, you have created and hosted your static website on GitHub pages/custom domain and also learned to automate deployment.
Now, let’s integrate Disqus comment service system and google analytics into our site to analyze the in-depth detail about the visitors on your website.
I. Integrate Disqus Comments
- Initially, go to the Disqus website and create an account. After creating your account, you will see 2 options as shown below:
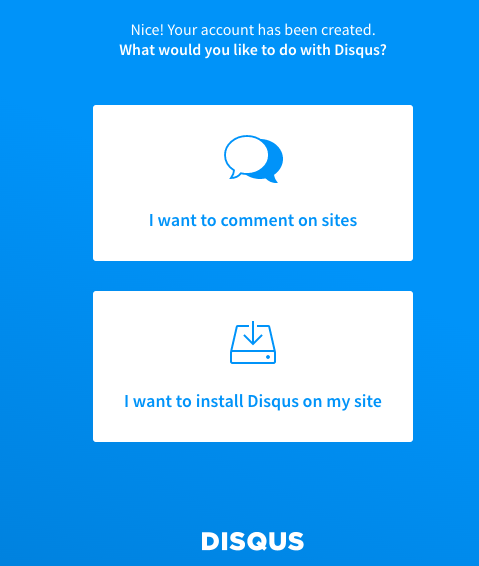
- Select the 2nd option i.e.
I want to install Disqus on my site. Then fill up the fields like Website Name and Category as shown below.
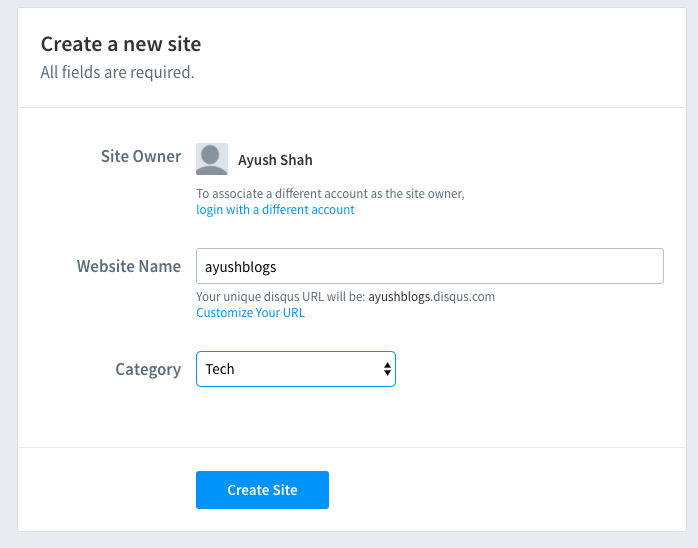
In the website name field, you may enter any name for your website.
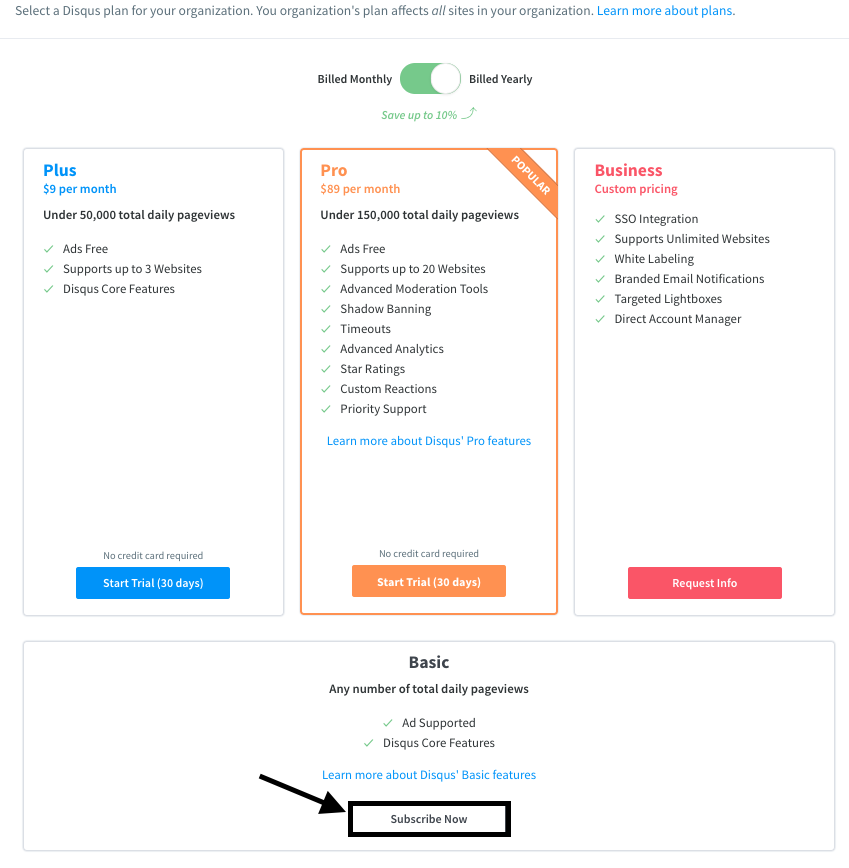
- In the next step, you will have to select a subscription plan. Select the basic plan as shown.
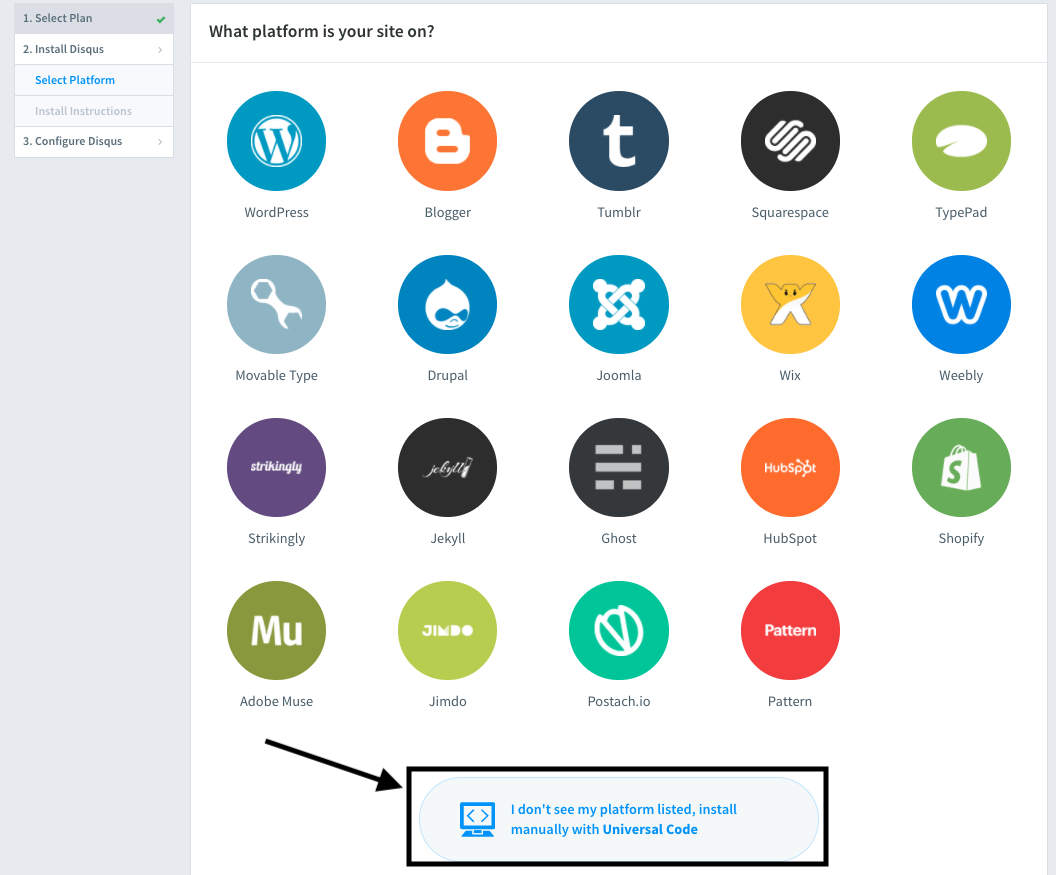
- Then select
I don't see my platform listedoption as shown.
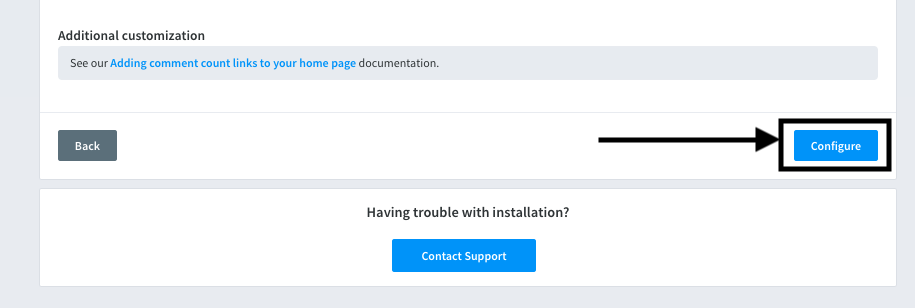
- Skip the installation step, go to the bottom of the page, and click
Configure.
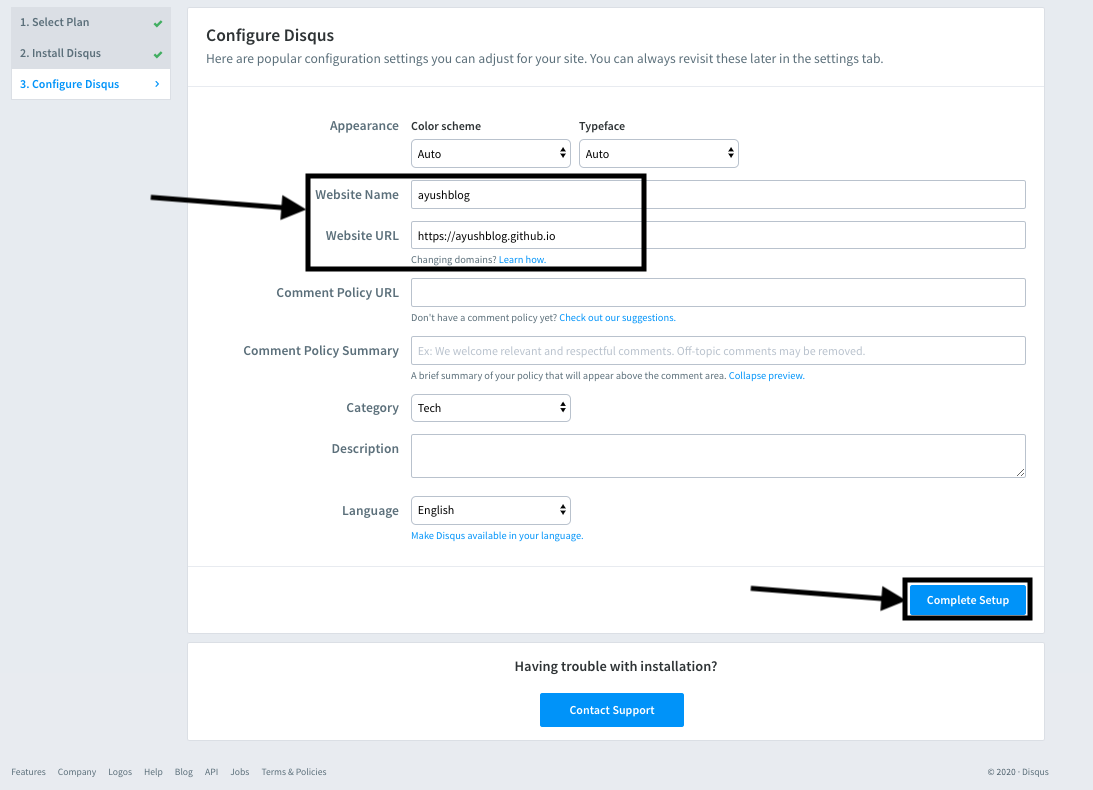
- Add the website name (the GitHub page link or the custom domain if you have it linked) as shown below.
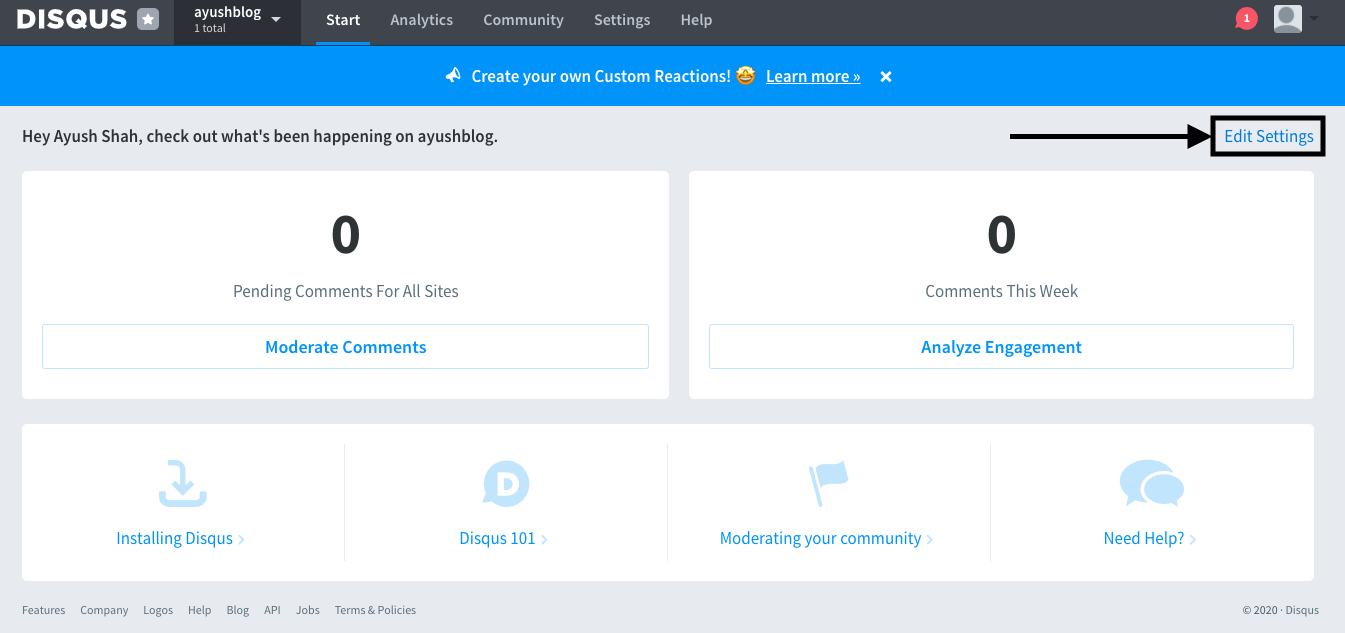
- Go to
Edit Settingsand clickGeneral. There, you can see your Disqus website shortname in theShortnamefield. Copy that name.
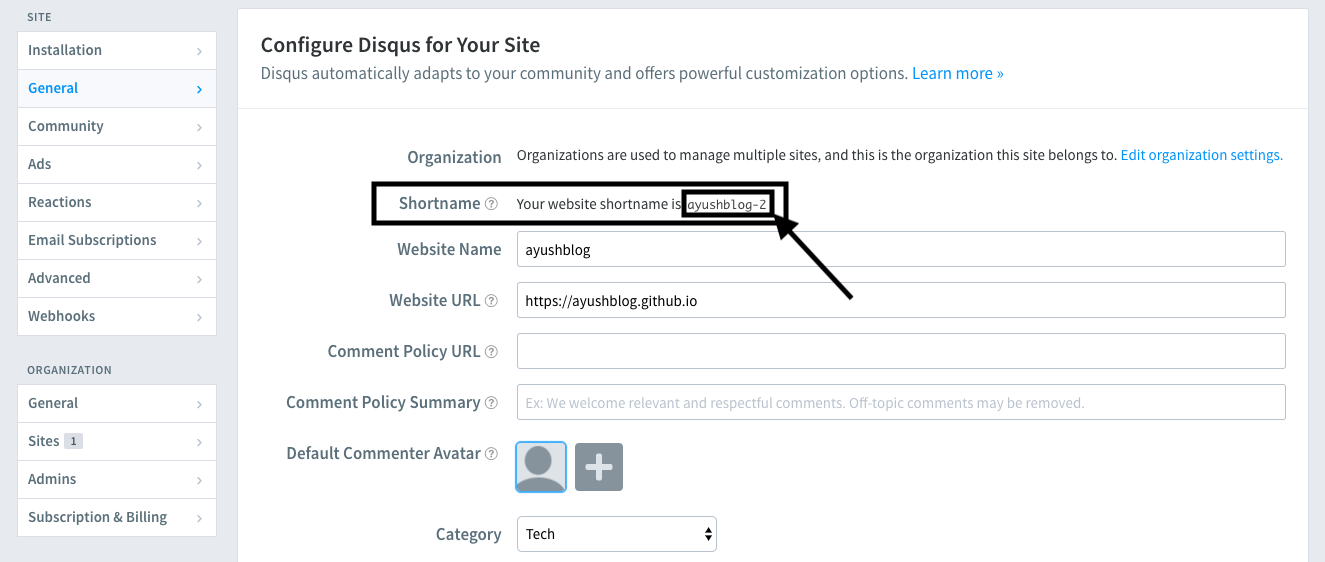
- Add the following line with the value copied from above to both the files
publishconf.pyandpelicanconf.py
DISQUS_SITENAME = 'ayushblog-2'
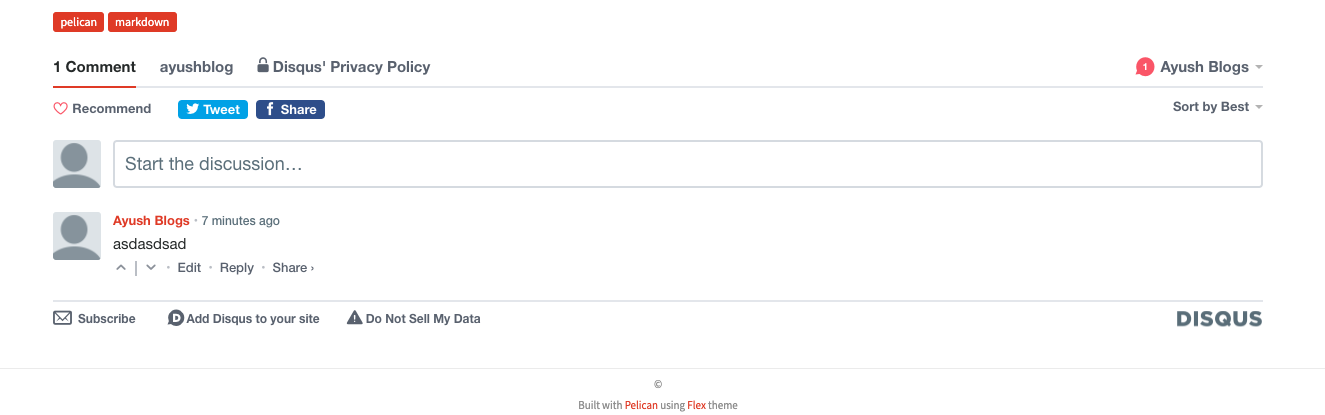
That’s it. You can check by using the command
(.venv) fab reserve
Then visit localhost:8000. At the bottom, you can see the Disqus comment section. Sometimes, it doesn’t appear in localhost. But don’t worry, it will still appear in the website.
You can push the updated source code to view the changes on your website.
You can configure the appearance and other preferences of the comment system by logging in to this link: Disqus admin panel. You can also choose to moderate the comments before making it visible to the public. If you do so, you can moderate the comments by going to the moderate section of disqus. You can approve or delete the comment.
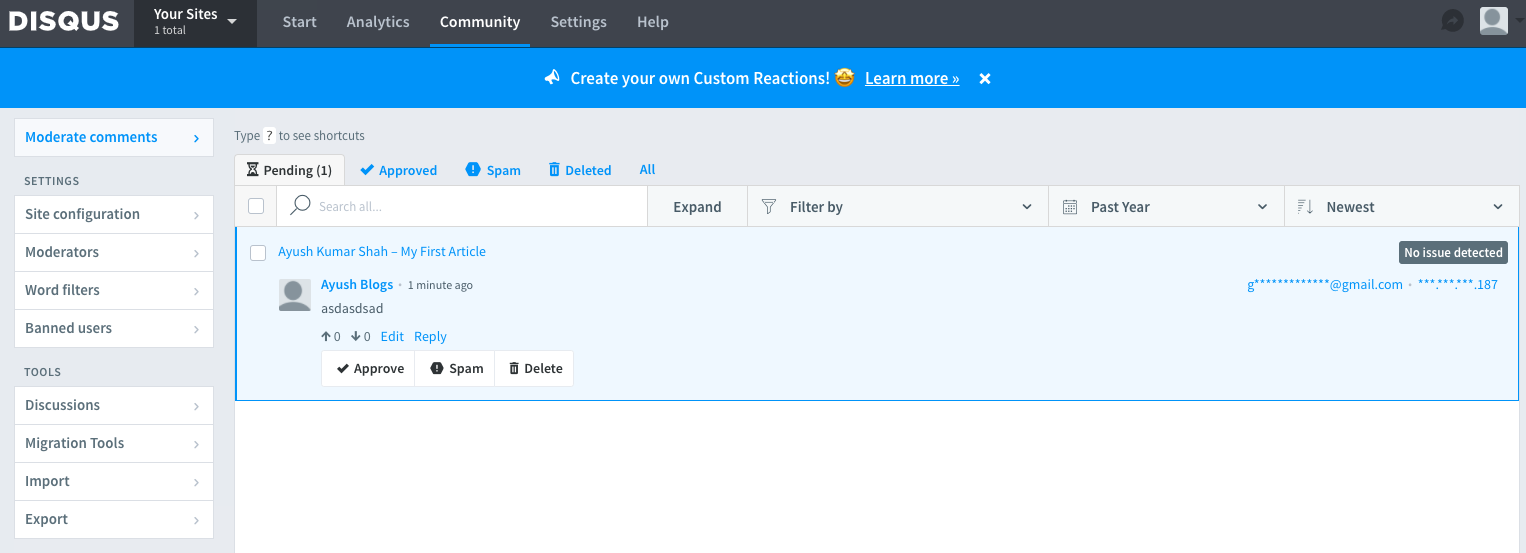
Now, just push the source code and you are ready to go.
You can approve the comments by logging in to Disqus
II. Integrate Google Analytics
Now, let’s learn to integrate Google Analytics in our website.
- Create an account for google analytics by visiting this link: Analytics - Create Account. Write an account name.

- Select
Weband clickNext.

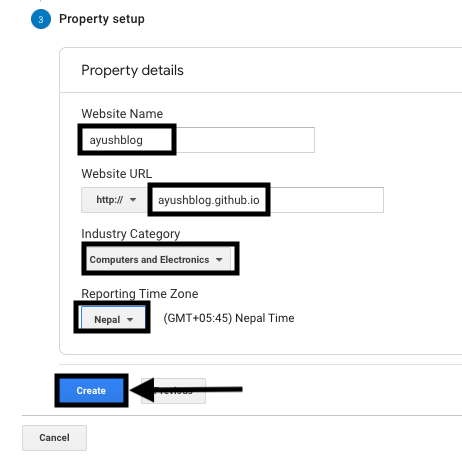
- Fill in the information as shown below and click
Create.
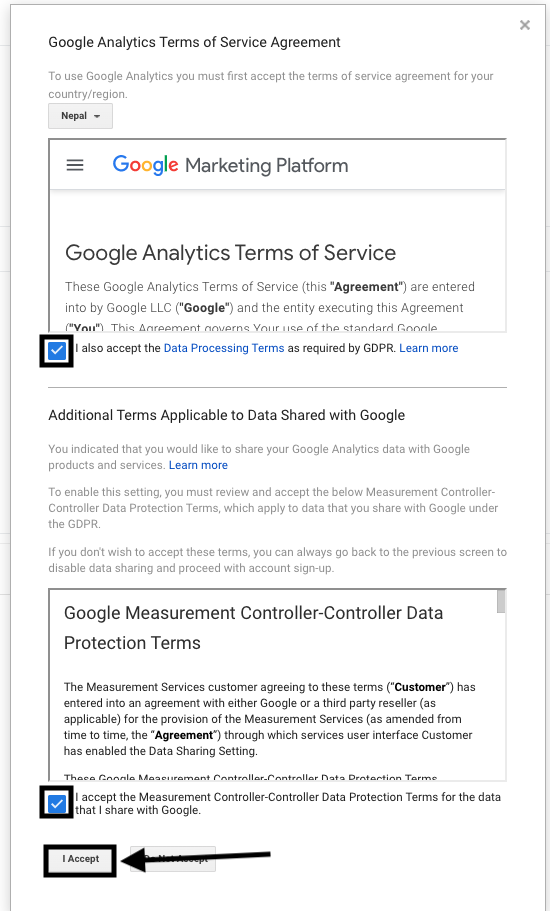
- Accept all the terms and conditions.
![]()
- Then, you will get a
Tracking ID. Copy theTracking IDand paste it in the filepublishconf.pyas shown below.
GOOGLE_ANALYTICS = "UA-166070073-1"
That’s all. Now just push the updated source code to the source branch and the analytics of your website will be tracked by google.
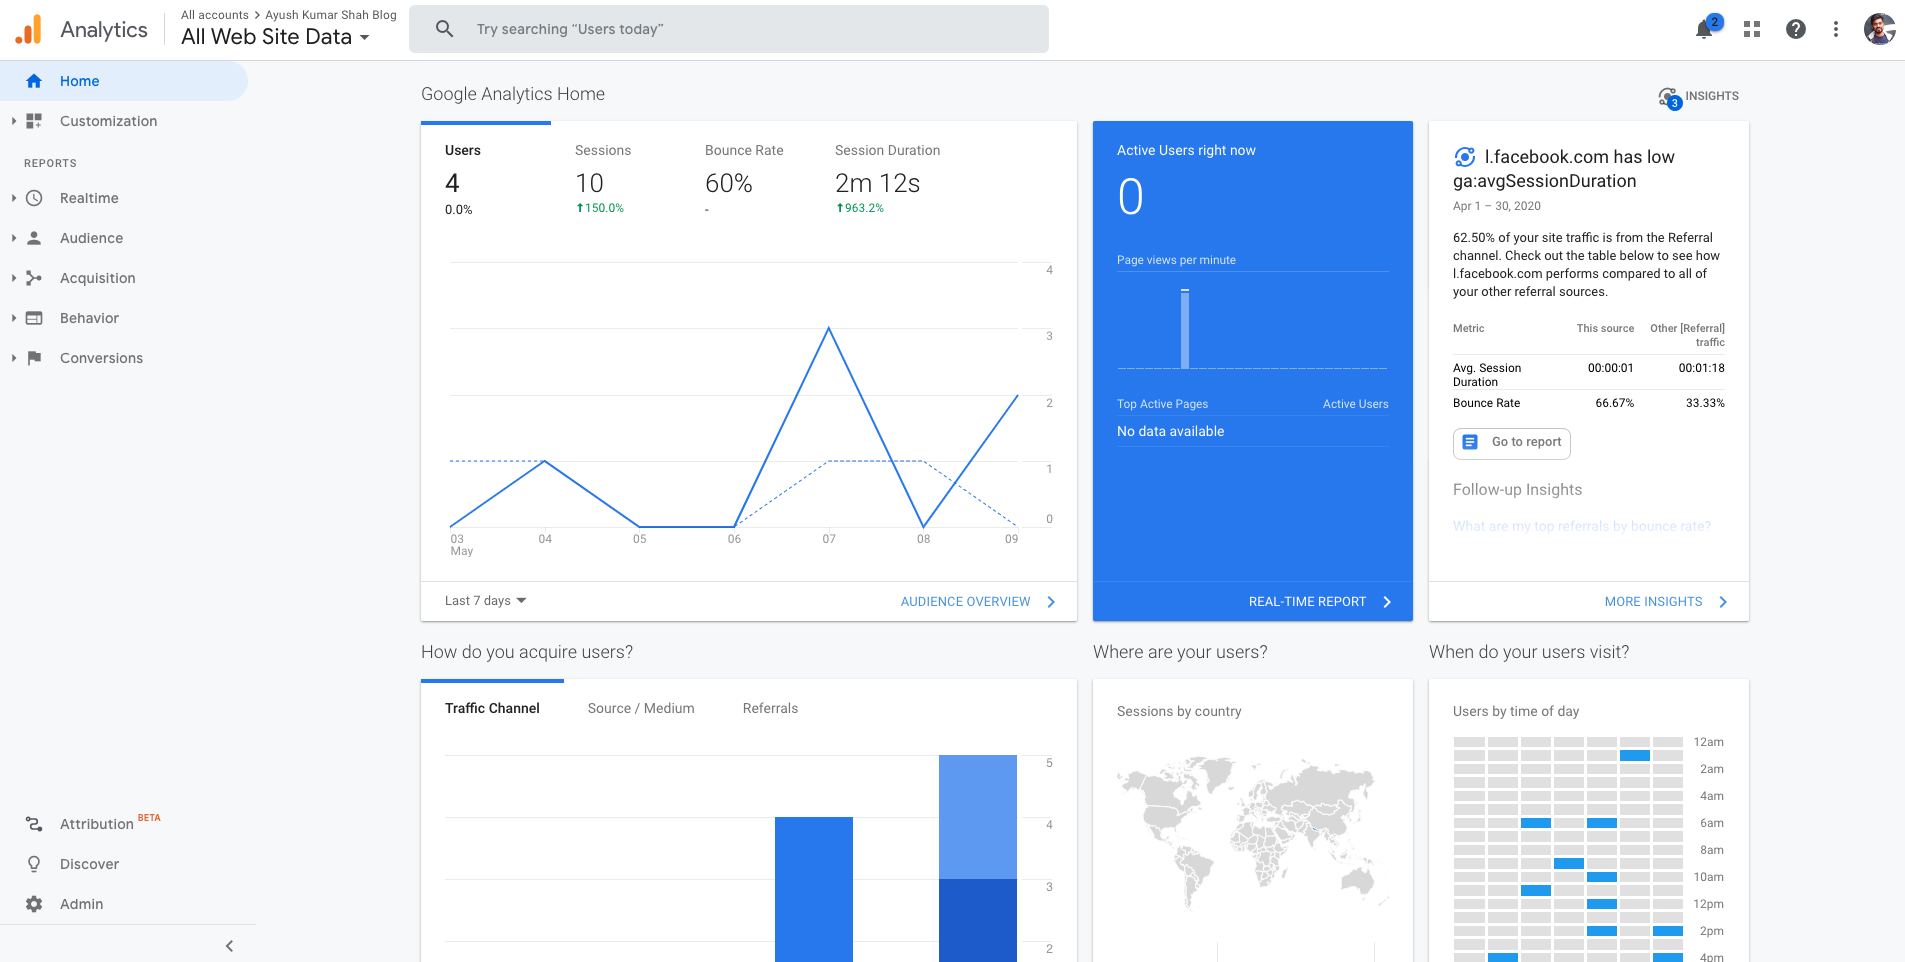
To view your detailed analytics, just log in to the Google Analytics website.
You can view detailed stats of your website visitors like the number of total visitors, active visitors, bounce rate, location of visitors. You can also view the real-time data of your visitors. How cool is that?
Congratulations!! You have completed the entire series of articles on Creating and deploying static websites using Markdown and the Python library Pelican.
If you have any confusion in any article, feel free to comment on your queries. I will be more than happy to help. I am also open to suggestions and feedbacks.
Also, you can use my GitHub repository for my blog post: ayushkumarshah.github.io as a reference in any point of the article. I have followed the same steps mentioned in this series to create my blog website that you are seeing right now.
If you want to visit any specific parts of the article, you can do so from the links below.
- Part 1: Setting up Pelican - Installation and Theme
- Part 2: Writing content using Markdown
- Part 3: Hosting your website to GitHub Pages and custom domain
- Part 4: Setting up Travis-CI for automating deployment
- Part 5: Integrate Disqus Comments and Google Analytics with Pelican
Or, go to the home-page of the article.