
Part 3 - Hosting your website to GitHub Pages and custom domain (2020)
This article is a part of a series of articles for web development using pelican. So, if you haven’t read the previous articles, please check it out by clicking the links below.
Creating and deploying static websites using Markdown and the Python library Pelican
Up to this point, you have created your static website locally. You surely want to share it with the public so that they can view your articles. There are several ways of deploying your websites but the best option is by using GitHub pages.
Why GitHub Pages?
It is completely free of cost. You don’t need to buy any hosting services. Github hosts your website for free.
It is secure and reliable as the website is hosted in a secure GitHub server.
It becomes easy to organize and keep track of your source code.
Let’s get started
1. Create and associate a GitHub repo
If you don’t already have a GitHub account, go to GitHub and create one.
Login to github and create a repository with the name
username.github.io(Replace username by your GitHub’s username. For eg, mine isayushkumarshah.github.io) and copy the clone address as shown in the gif below.
Now, go to your project directory i.e.
'web_development'perform the following commands to add the remote repository that you just created to your project.
Use the URL that you just copied from the repository you created instead of the url used in the command below.
(.venv) $ git init
(.venv) $ git remote add origin 'https://github.com/username/username.github.io.git'
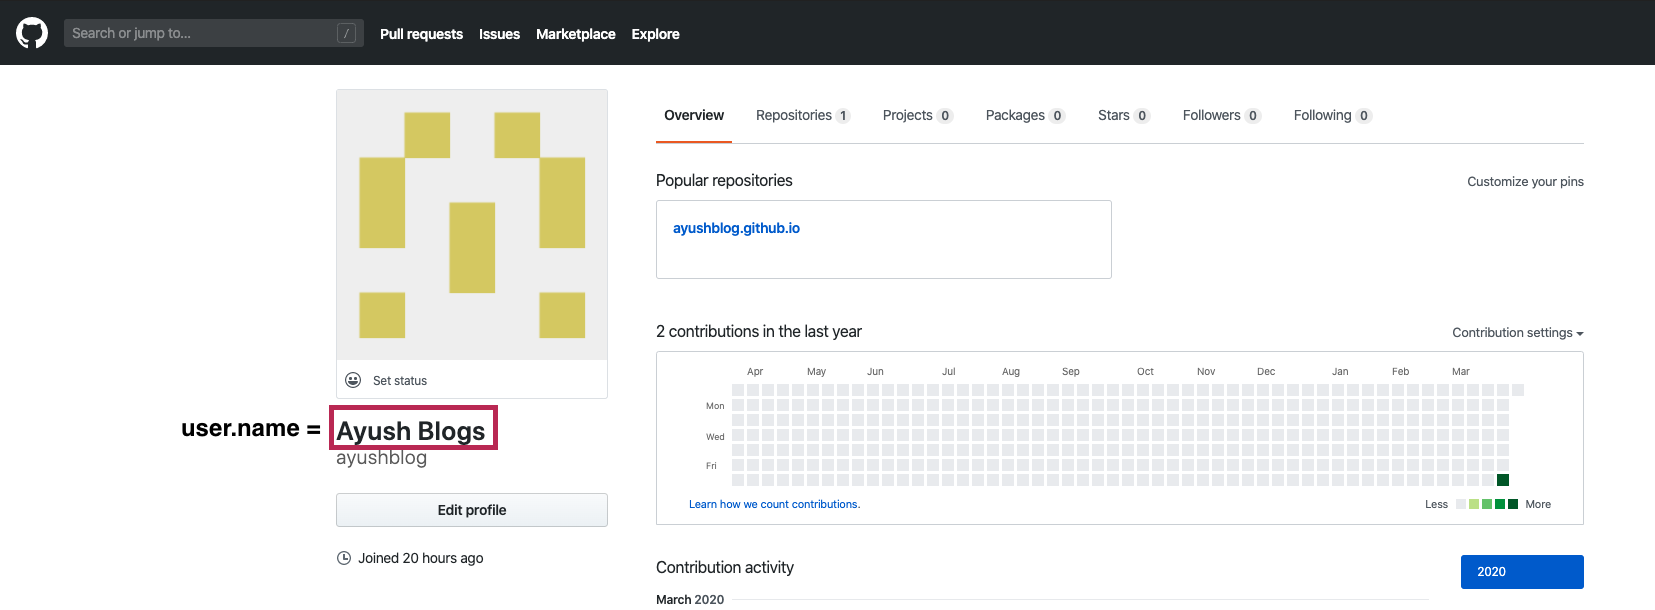
Also, add your GitHub email address and username to git. You can find your username by logging into github and finding the name as shown below.
(.venv) $ git config --global user.email "your-github-email"
(.venv) $ git config --global user.name "your-github-name"
We will be using 2 branches in our repository -
sourceandmaster.source:store the source code of our project (i.e. all folders and files except the output folder)master:store the contents of the output folder. i.e. all the HTML files generated after building the site. The master branch will be used to host the website to GitHub-pages.
So, let’s switch to the
sourcebranch.
# Create and switch to a new branch source
(.venv) $ git checkout -b source
- Create a
.gitignorefile to mark the files which should not be added into the repository.
(.venv) $ touch .gitignore
Copy all the lines from this link: .gitignore and paste it in the newly created
.gitignorefile.You may also create a
Readme.mdfile for your repository. Create it in the main directoryweb_development
(.venv) $ touch Readme.md
- You can add information about your project in the
Readme.mdfile similar to mine. You can copy it from this link: Readme.md and modify it accordingly.
2. Build and publish your website
- Let’s modify the configuration for publishing the website by opening
publishconfig.pyand modifying/adding the following settings.
SITEURL = 'https://username.github.io'
DOMAIN = SITEURL
FEED_DOMAIN = SITEURL
HTTPS = True
- Also, let’s modify the commands in the file
fabfile.py. Open the file and add the following settings if not present already.
# Local path configuration (can be absolute or relative to fabfile)
env.deploy_path = 'output'
DEPLOY_PATH = env.deploy_path
env.msg = 'Update blog'   # Commit message

# Github Pages configuration
env.github_pages_branch = "master"

# Port for `serve`
SERVER = '127.0.0.1'
PORT = 8000
- Also, we need to add a
deploy()function infabfile.py.
def deploy():
    """Push to GitHub pages"""
    env.msg = "Build site"
    clean()
    preview()
    local("ghp-import -m '{msg}' -b {github_pages_branch} {deploy_path}".format(**env))
    local("git push origin {github_pages_branch}".format(**env))
So, your source code is ready. Let’s add it to the repository using the following commands:
(.venv) $ git add -A
(.venv) $ git commit -m "Add source code for the first post"
(.venv) $ git push origin source
- Now, perform the following command to build and publish the site to the master branch
(.venv) $ fab deploy
Note: Always work in the source branch during development. The deploy() function will push the contents of the output folder into the master branch. So, you don’t need to worry about it. So, every time you add an article, just follow the steps above by first pushing the source code to the source repository and then running the deploy function.
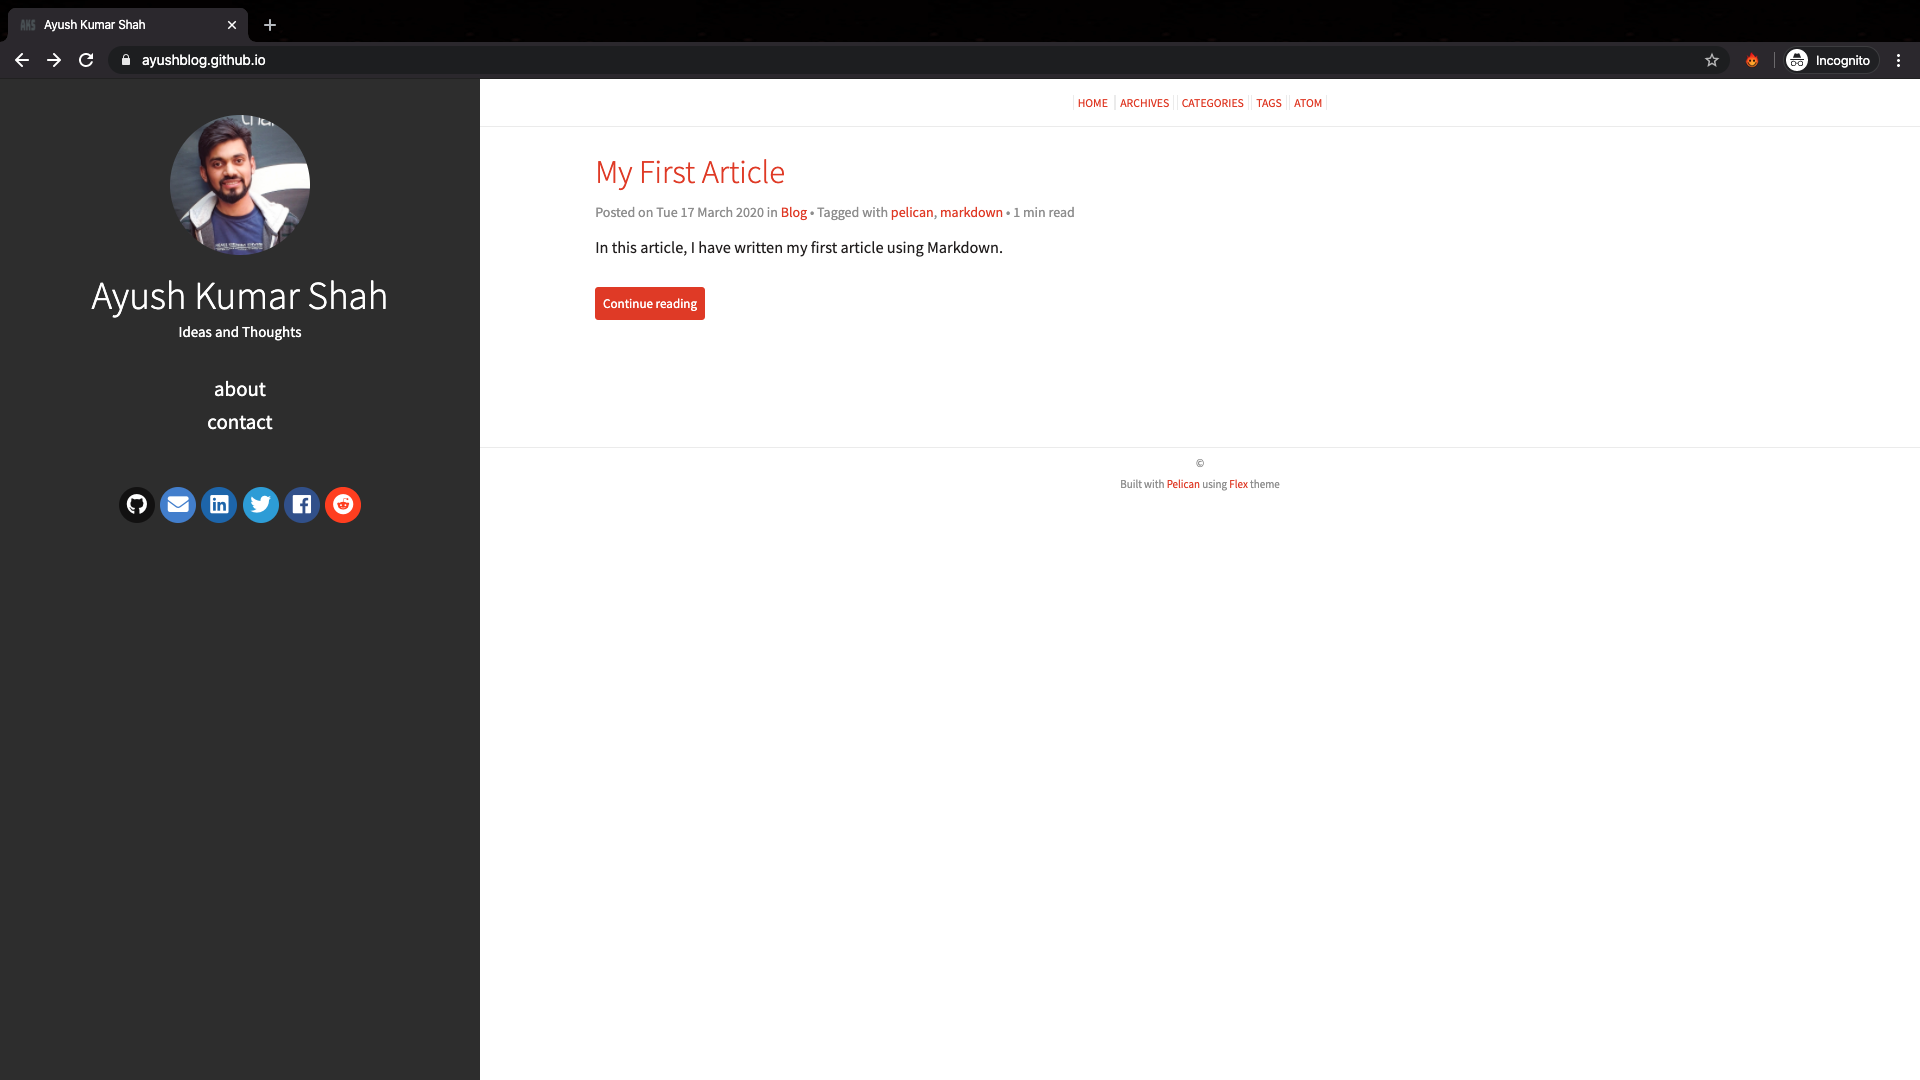
Congratulations! your site has been hosted to GitHub pages publicly. To check your website, open your browser on any device and visit https://your-username.github.io.
That’s it. You have now learned to create and host your static website in GitHub pages.
3. Linking your site to a custom domain (Optional)
You might want to host your site to a custom domain of your choice rather than GitHub pages. This can be done completely free of cost if you have a custom domain registered already.
If you don’t have a custom domain, you can buy them at several websites like Namesilo, GoDaddy, etc.
You can make your domain secure and manageable using Cloudflare Service
- The first step is to create a file called
CNAMEinside thecontent/extradirectory.
(.venv) $ touch content/extra/CNAME
Then, add (copy and paste) the name of your site i.e.
www.your-site-name.comin the fileCNAME.Change the value of
SITEURLin thepublishconf.pyfile.
SITEURL = 'https://you-site-name.com'
Now, you need to redirect your site to point to your content hosted in GitHub-pages. For that, you need to use your domain management site which you used to buy the domain or some 3rd party management site like Cloudflare.
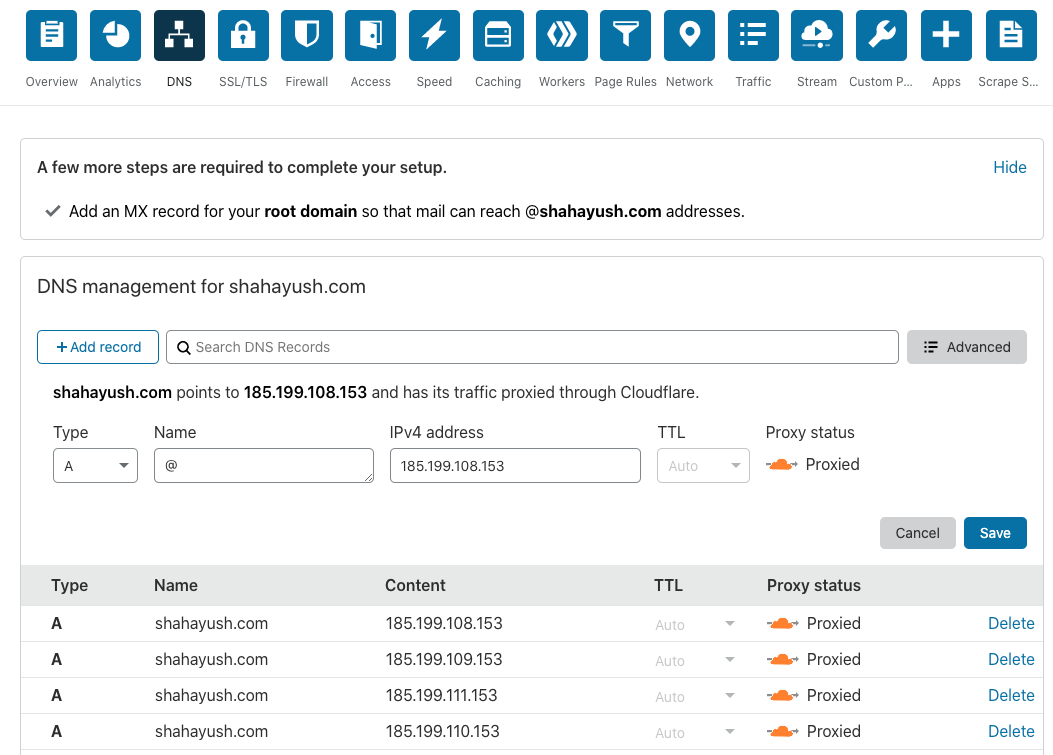
Go to the DNS section and add A records one by one to redirect your site to following 4 IP addresses (GitHub-pages): You can see the image below for reference. I used Cloudflare for DNS management.
- 185.199.108.153
- 185.199.109.153
- 185.199.111.153
- 185.199.110.153
If you want to redirect the GitHub-pages site to your custom domain, then go to the repository settings and add your site name in the Custom domain field of the Github Pages section as shown below.
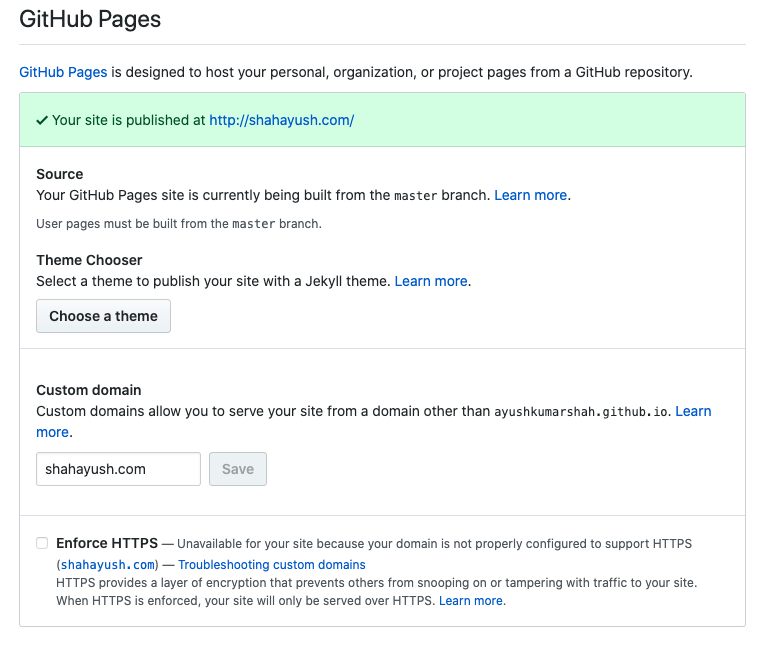
Congratulations!! Your blogs have been redirected to tour own custom domain. You can browse your site and check if it is working.
4. Add forked repo of theme (Optional)
This is an optional step. Perform these steps only if want to modify or tweak with the theme (Flex in this case) to give your website a slightly different look. You may modify colors, styles or even perform changes in the design (if you some knowledge on web development - HTML and CSS).
Since you have cloned the repository of the theme directly, modifying it directly is not a good idea since you will have issues updating the theme to a newer version.
Hence, you will create your own version of the theme repository instead i.e. forking the repository. I will demonstrate using the Flex theme but you may follow the same steps for other themes as well. Follow these steps (also shown in the gif below):
- First, let’s delete the previously cloned repository of the Flex theme.
(.venv) $ rm -rf themes/Flex
Now, open and fork the Flex repository or the repository of the theme you chose.
Then, copy the
https(not ssh) link of the forked repository.
Now, clone the forked repo in your project.
Paste the link you copied from the forked repo instead of
https://github.com/ayushkumarshah/Flex.gitandthemes/name_of_themeas the 2nd argument in the command below.
(.venv) $ git clone 'https://github.com/ayushkumarshah/Flex.git' 'themes/Flex'
Now, you may modify the theme by tweaking with the HTML and CSS files inside the themes/Flex/ directory and then commit the changes to the forked repository separately.
In the next part, learn to automate the process of pushing to source and deploying to the master branch by using Continuous Integration tools like Travis-CI in the part 4 of the article.
If you have any confusion in any article, feel free to comment on your queries. I will be more than happy to help. I am also open to suggestions and feedbacks.
Also, you can use my GitHub repository for my blog post: ayushkumarshah.github.io as a reference in any point of the article. I have followed the same steps mentioned in this series to create my blog website that you are seeing right now.
If you want to visit any specific parts of the article, you can do so from the links below.
- Part 1: Setting up Pelican - Installation and Theme
- Part 2: Writing content using Markdown
- Part 3: Hosting your website to GitHub Pages and custom domain
- Part 4: Setting up Travis-CI for automating deployment
- Part 5: Integrate Disqus comments and Google Analytics with Pelican
Or, go to the home-page of the article.